Showing posts with label glaze. Show all posts

Saturday, 1 February 2014

Year 8 Art workshop pinch pots

These are the results of the last glaze firing.
 I emptied the school kiln this morning and I was delighted with the results of this Year 8 pinch pot workshop. 
I showed a small group of year 8 students how to make small pinch pot forms from clay. The rest they did themselves, I love their quirky little designs, owls, cats and pot feet featured heavily.
They later glazed them and added a few glass beads to the bases to melt with the glaze.
I gave them their work today and they were thrilled with the results.


Sunday, 17 June 2012

New Items in my shops

The latest things to appear in Little Brick House Ceramics on Noths are...
Stoneware Bird feeders in two sizes

These plant markers are NEW.
They are made from terracotta clay so they match great with existing terracotta  garden pots and containers and they are included with a white pencil which shows up so much better on this colour than lead.

I have just made more of these as they have been really popular on Noths these ones however have different colours in them even though the same glaze was used. So I had to re-photograph them. Grrr.

Also a new item using a potted Topiary stamp, in line with my garden themes and  can also be written on  the reverse side.
Sold in packs on five threaded with paper sting.


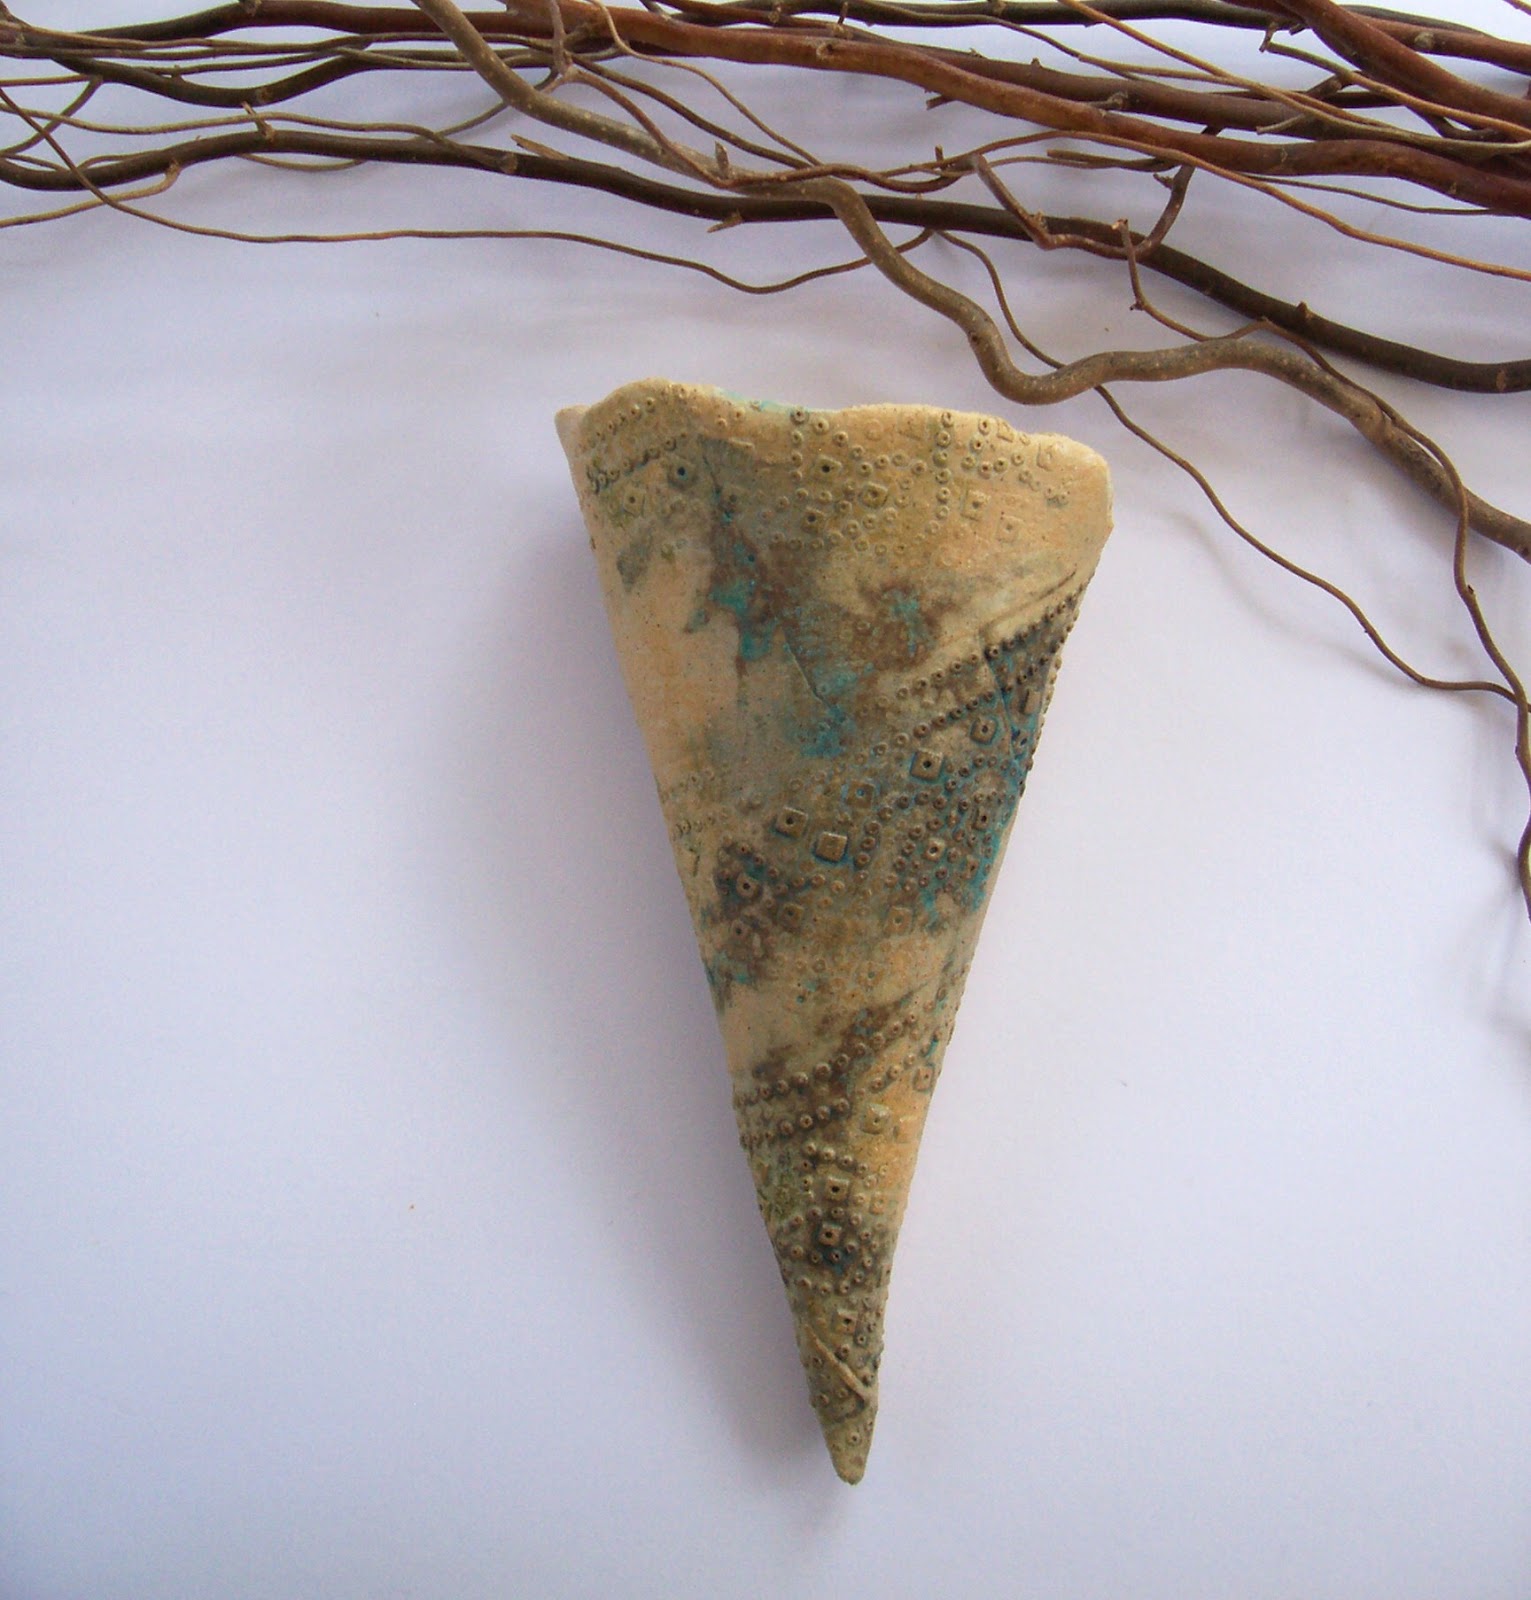
I love this not sure I want to part with it. This planter has been through the kiln loads! Originally the glaze was just a light honey and I wanted to deepen the coulour, so I added the turquoise onto it and fired again. The turquoise was too matt so I put it through again with more oxide washes and a Lucie Rea Green glaze which was made from one of her recipes.
I like it too much now.


Just a quick reminder that I will be attending Clutter City at the arts centre on st. Benedict's street. Norwich. this Saturday (23rd June) and will be exhibiting some of my work.
So if you like all things quirky, unusual, vintage and handmade why not take a look.
It has a lovely atmosphere, good food, and live music. Well worth a visit for those things alone.
Hope to see some of you there. Please come and say hello.
Xx

Saturday, 24 March 2012

House Name Plaques update and finished project

Its a good feeling when a project like this is completed and the customer likes what they have got. I always feel under more pressure when making to specific requirements as things may go wrong in the kiln or the customer may not like what I have made and I generally feel daunted by commissions but feel compelled to take them on. After all if the customer has faith in what I produce then why shouldnt I?
Here are some of the processes that the two name plaques have been through, and the finished item.
At this stage the lettering has been drawn onto the clay and the plaque is left to go to leather hard stage ready to work  on again.

As above but this plaque I scratched a drawing of the hens and the pigs and left to go to leather hard stage.

At this stage the clay is leather hard which means it is still soft enough to work on but not wet  as the initial stage and not dry enough to not do anything with.
 I have dug out all the lettering with a clay tool and smoothed with a soft brush ready to paint glaze into the letters. After this I have to weight down all the corners to allow the work to dry really flat. This takes weeks sometimes. I am going to single fire these pieces (which means fire once with the glaze painted straight onto dry unfired clay)

Here I am putting the shelves in my kiln together to load up my work and do a firing.

These are the final fired plaques before I delivered them to Pairpoint's Farm.

The lady who bought them really liked them. So phew!!
Until another commission comes along.

Thursday, 8 September 2011

Mixing New Glaze samples in my workshop & making clay colour samples.

Here are some new glaze samples I am mixing up and storing in glass jars. I am trying to build up a few different colours so I have ordered a few new ones to try.  
Warm water is added to each glaze sample and mixed well then allowed to settle.


Each jar is labelled with the colour and firing temperature and stuck onto the jar for easy identification. The colours will differ significantly from the colour of the mixed glazes in jars. Amongst these there will be reds, greens, blues and mustard toned glazes. At least, this is what I am expecting, but different firings produce different effects with glazes.

These are clay smaples which I will use to keep a record of the new glaze samples. Some will be brushed on and others dipped, both creating different effects. The dragged lines on the samples are to show how glazes work on recessed areas and smooth areas. The hole at the top is just so that i can pin them up in the workshop as reference.
To see more of my workshop visit my Workshop Tour

LinkWithin

Related Posts Plugin for WordPress, Blogger...